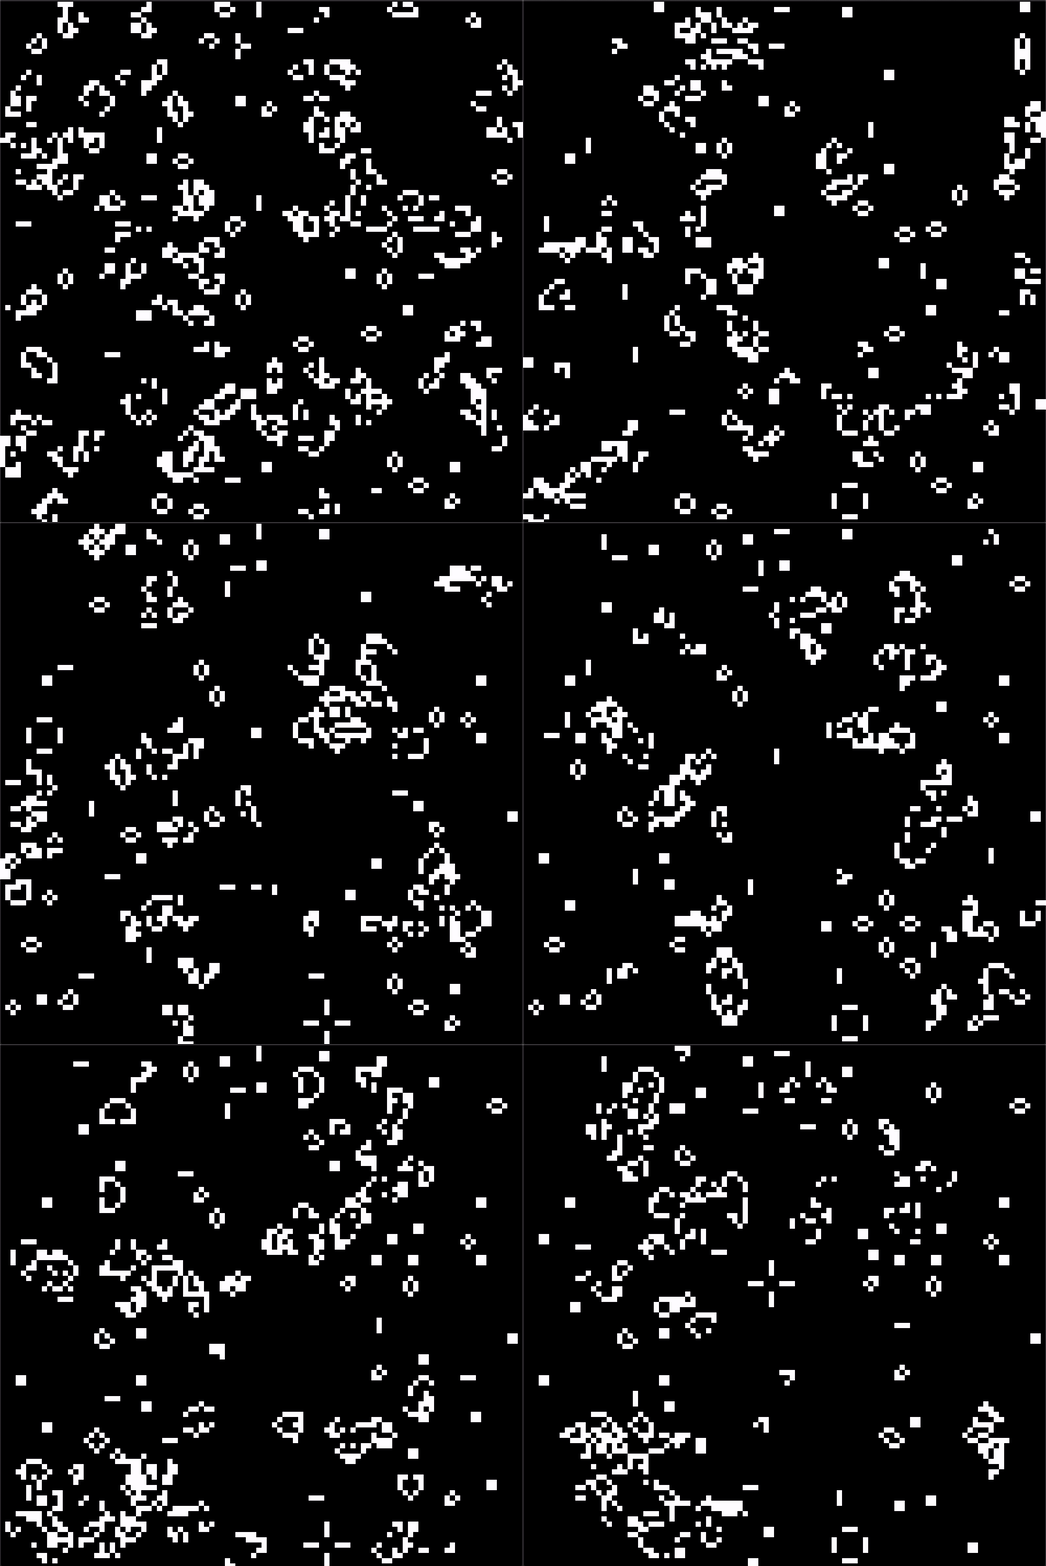
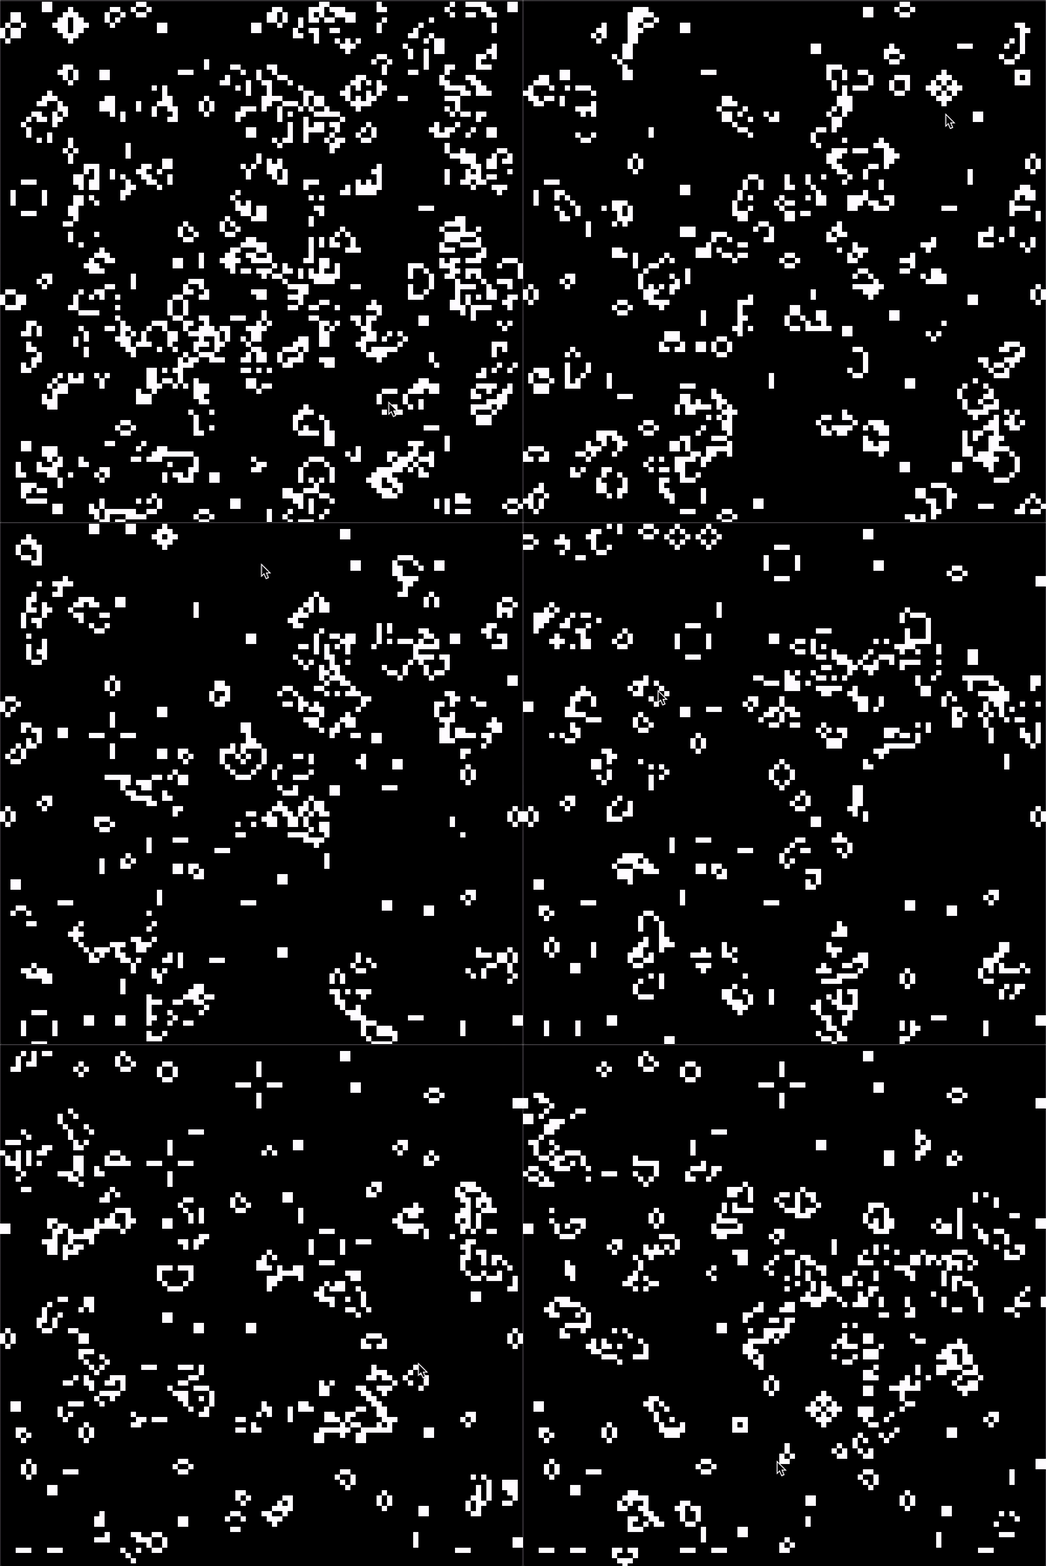
Conway's Game of Life written in Go and visualized using Ebiten. This game lets users interact with the board by enabling them to set the state of a cell and its neighboring cells to alive on a left mouse click.

Intention
One of the things I set out to do during this quarantine was to learn Go. I was super interested in Go’s design decision to bake concurrency directly into the core language and the ability to achieve super-efficient concurrency coupled with high performance simultaneously. There has also been a lot of hype online for Go recently, and I wanted to learn something new. I also saw it as a welcome return to pointers and procedural programming after having worked with Ruby and Python professionally for a while now.
To get started, I completed Golang’s A Tour of Go (check out my solutions to the exercises here). I really enjoyed learning a new language and was really surprised by just how simple Go makes concurrency immediately available to you through goroutines and channels.
Conway’s Game of Life
In an effort to practice more and build my first Go program, I decided to implement Conway’s Game of Life. I choose Conway’s Game of Life since its a classic computer science project that I haven’t yet implemented, and I saw this as a good opportunity to do so.
The Game of Life is a cellular automaton zero-player game. It takes place on a 2D grid of cells, where each cell can either be alive or dead. At each iteration, the state of a cell is determined by a set of rules which take into account the state of a cell’s neighbors (the cells horizontally, vertically, and diagonally adjacent). Following an initial configuration of alive and dead cells, the rules are iteratively applied, and thus patterns automatically evolve over time on the grid.
The rules that determine the next iteration of cells are as follows:
- Any live cell with fewer than two live neighbors dies, as if by underpopulation.
- Any live cell with two or three live neighbors lives on to the next generation.
- Any live cell with more than three live neighbors dies, as if by overpopulation.
- Any dead cell with exactly three live neighbors becomes a live cell, as if by reproduction.
These rules can be simplified to the following three (in code):
if alive && (numNeighbors == 2 || numNeighbors == 3) {
  // If a cell is alive and has 2 or 3 neighbors, it survives
  nextGeneration[row][col].state = true
} else if !alive && numNeighbors == 3 {
  // If a cell is dead and has 3 neighbors, it becomes alive
  nextGeneration[row][col].state = true
} else {
  // All other live cells die in the next generation.
  // Similarly, all other dead cells stay dead.
  nextGeneration[row][col].state = false
}
Check out this video for some incredible patterns (just turn down your volume first).
Execution / Design Decisions
Ebiten
In order to visualize the game, I decided to use Ebiten, a 2D game library for Go. Ebiten makes it really easy to quickly develop a 2D game and I really enjoyed working with it.
I implemented Ebiten’s Game interface to develop this program, which comes with very handy Update and Draw functions. The Update function is called every tick (1/60s by default) and it is within this function that the state of the game is updated. The Draw function is called every frame which redraws the Game screen. These functions work in tandem to update the interface.
Initial State
Although the Game of Life is a zero-player game and the patterns will generate themselves, the game does require an initial state of alive cells (as no living cells in the initial state will lead to no patterns). In order to do this, I randomly set the state of each cell during the initialization of the board. Here I use the rand Go package and seed it with the current Unix time to ensure a different initial state at each run. The probability of a cell being alive in the initial state is variable to allow for different initial alive/dead ratios at the user’s discretion.
This board initialization can be seen below:
func initBoard(dimension int, initialStateProbability float32) [][]Cell {
	cells := make([][]Cell, dimension)

	// Seed the random number generator to get a different initial state every time
	rand.Seed(time.Now().UTC().UnixNano())

	for row := 0; row < dimension; row++ {
		cells[row] = make([]Cell, dimension)

		for col := 0; col < dimension; col++ {
			cells[row][col] = Cell{
				row:   row,
				col:   col,
				state: rand.Float32() < initialStateProbability,
			}
		}
	}

	return cells
}
Interaction
I also enabled the user to be able to interact with the board by being able to set the state of a cell and its neighboring cells to alive when left-clicking the cell. This allows for some really interesting results. This works by listening for a user click (by using the Ebiten API) and switching the state of the corresponding cell and its neighbors (the cells horizontally, vertically, and diagonally adjacent) to being alive.

Future Work
There are many potential extensions of this project, the main one being designing and discovering initial configurations that produce interesting patterns. However, for now, I am done working on this for now.
This project definitely boosted my confidence and comfortability in working with Go, but I feel like the best way to learn it properly is to use it for what it was designed for, i.e. high-performance concurrency. So that means that my next Go project will be using its baked in concurrency features to do just that.
Check out the code on Github

